ConnectPort X5 R Configuration
Mobile Configuration
In order to begin configuring your device you must navigate to the device's Configuration and Management Home page. To open this page:
- Connect one end of the provided Ethernet cable to your PC, and the other end to the
ConnectPort X5 R Ethernet port (ensure that your PC is configured to obtain its IP address via DHCP).
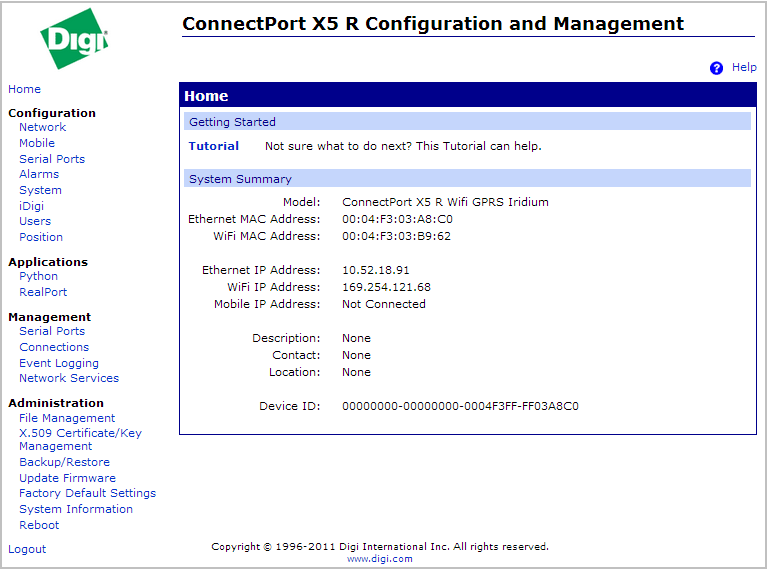
- Open the Web Interface of the ConnectPort X5 R by entering 192.168.1.1 into the URL field of your web browser (this is the default IP address of your device). You will see a screen similar to the following (this is the device’s Home page):
The ConnectPort X5 R's mobile configuration process will vary depending on the cellular network your device supports. This section provides examples of how to configure the ConnectPort X5 R cellular interface for two of
the popular cellular networks: AT&T or Sprint. Follow the instructions within your service provider's example and then proceed with the Python Configuration section.
Note: A Verizon example is not included as this device type does not support the use of a SIM.
GSM/Edge Example (AT&T)
- Click on Configuration > Mobile from the left-hand menu, you should see a screen similar to the following:
- Configure the Mobile Service Provider Settings as follows:
- Select the appropriate service provider and service plan/APN for your device using the Service Provider and Service Plan/APN drop-down menus.
Note: This information is provided by the mobile service provider from whom the SIM was acquired.
- Enter a name for your custom plan into the Custom Plan Name field.
Note: “apn.idigi.com” is for example purposes only. Enter your custom service plan/APN information in
place of this text.
- Click the Apply button.
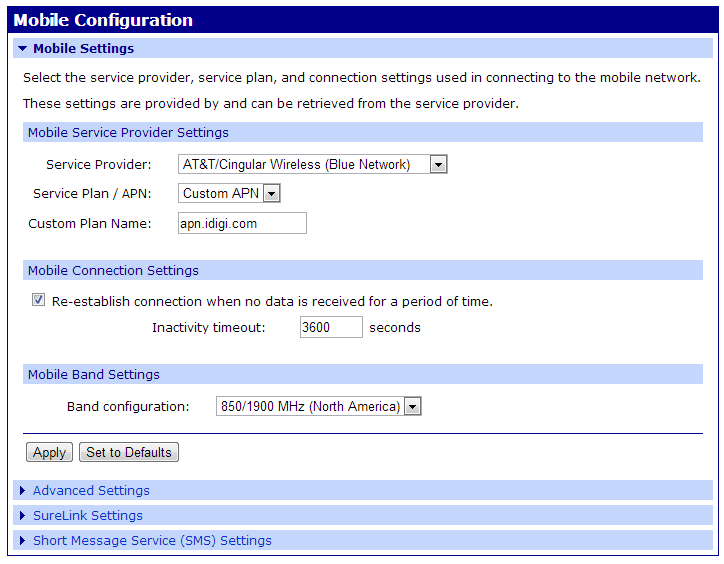
Your mobile configuration is complete. Proceed to the Python Configuration section.
CDMA Example (Sprint)
- Click on Configuration > Mobile from the left-hand menu.
- Select Sprint PCS from the Service Provider drop-down menu, you should see a screen similar to the following:
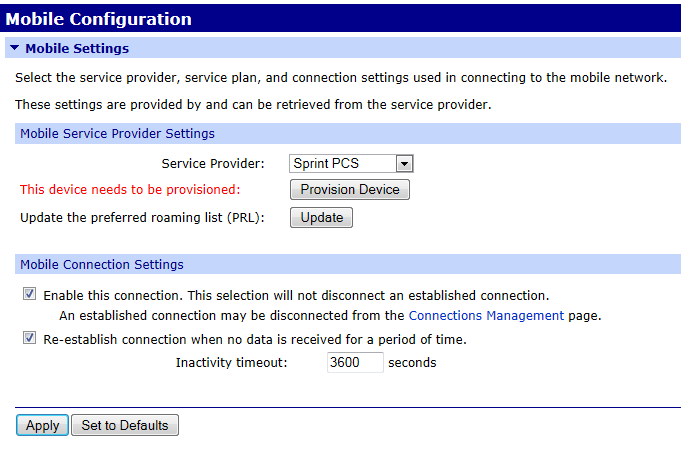
- The unit needs to go through its provisioning process. Click the Provision Device button, and then follow the steps displayed within the Mobile Device Provisioning dialog screens.
Note: The default options within the Mobile Device Provisioning dialog screens will be correct for most installations.
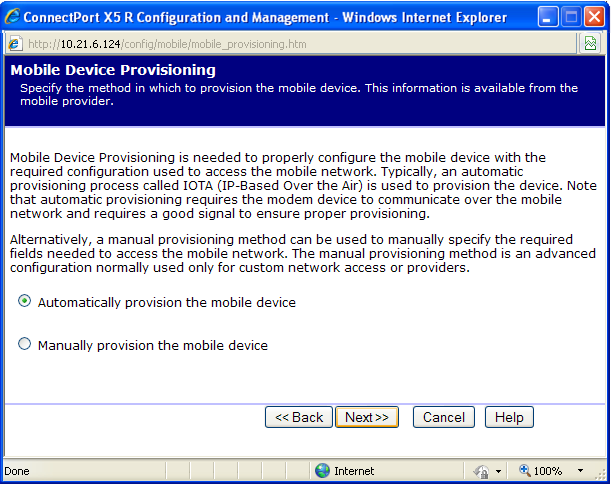
- When the following screen is displayed, select the Automatically provision the mobile device option then click the Next >> button.
- Continue to go through the mobile provisioning process until you see the following screen. This screen will indicate that the mobile provisioning process completed successfully.
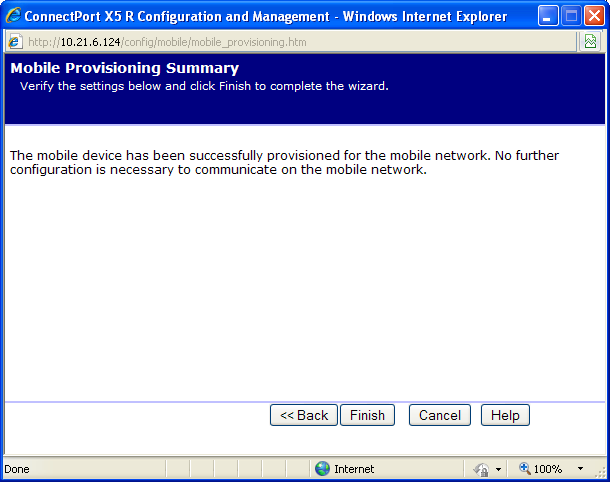
- Click Finish to return to the Mobile Configuration page. Click Apply on the Mobile Configuration page when finished.
Your mobile configuration is complete. Proceed to the Python Configuration section.
Back to Step 2 | Move to Python Configuration
|